

August 03, 2026
Insert vs Send Effects: When Should You Use Each?

Insert vs Send Effects: When Should You Use Each?
Put a chorus directly on a vocal and the plugin's Mix control decides how much dry signal and effect you hear. Set up that same chorus on a send and the vocal stays on its original channel while a separate, fully wet version comes back on another fader.
The plugin has not changed, but the way you can balance, automate, and process it has. That routing change is the basis of any insert vs send effects decision. An insert places the effect directly in the track's signal chain, while a send gives the effect its own parallel path through the session.
Both approaches can create a similar effect, but one usually gives you better control for the job in front of you.
What an insert effect actually does
An insert places the plugin directly in the signal chain of a track. The signal passes through the effect before moving to the next insert, the channel fader, or the track output, depending on your DAW and routing.
If the plugin has a Mix control, you can still blend the processed and unprocessed sound. The difference is that the blend happens inside the plugin, and everything after that insert receives the combined result.
This makes the order of the chain important. Put a chorus before distortion and the distortion reacts to the dry signal and modulated voices together. Place the distortion first and the chorus adds movement to a signal that has already been saturated.
An insert is usually the better choice when the effect defines the sound rather than sitting around it. A synth patch built around wide modulation, a clean guitar that depends on rotary movement, or a vocal double that needs the same chorus for the entire section can all be handled directly on the track.
This also keeps the setup easy to manage because the plugin, its automation, and the audio it processes all live in one place.
What a send effect actually does
A send splits a copy of the signal away from the original channel and routes it to an aux, return, or FX channel. The name changes between DAWs, but the idea stays the same. Pro Tools and Logic use aux channels, Ableton Live uses return tracks, and Cubase commonly uses FX channels.
The original signal continues to the mix through its normal output. The copied signal passes through the effects on the return channel, then joins the mix alongside the original.
This creates two useful controls. The send level decides how much signal enters the effect, while the return fader controls the overall wet level in the mix. The return can also have its own EQ, compression, saturation, panning, or automation without changing the dry channel.
When a time-based or modulation effect is placed on a return, set the plugin to 100% wet unless you have a specific reason to include another copy of the dry signal. Leaving dry signal in the return can raise the source level and introduce comb filtering or other phase interaction that makes the comparison harder to judge.
A send is usually the better choice when the dry sound needs to remain clear while the effect moves independently around it. It also lets several tracks feed the same effect, which can help a group of sounds feel connected without loading another copy of the plugin on every channel.
Where inserts work better
Use an insert when you want the effect to follow the track as one complete sound.
A chorus inserted on a synth can make the modulation fundamental to the patch, which means any level rides or mutes on the track affect the dry signal and chorus together. A rotary effect inserted on a sustained guitar can make the slow and fast movement feel connected to the performance instead of appearing as a separate layer underneath it.
Inserts also make sense when each source needs different settings. Two backing vocals may need different chorus rates or tap times, while separate guitar layers may need different rotor speeds or depth settings to keep the movement from becoming too uniform.
The main limitation is that the dry and processed sounds share one channel. You can automate the plugin's Mix control, but you cannot EQ, compress, or ride the wet signal independently unless the plugin provides those controls internally.
Where sends work better
Use a send when the effect needs its own place in the balance.
A backing vocal can stay clear on its original channel while the last word of a phrase feeds a fully wet delay return. Automating the send creates the throw, while the return fader controls how far underneath the vocal it sits.
The same routing works when several synths or guitar textures need to share one style of movement. Each track can feed a different amount into the return, then one EQ on the return can remove low-end buildup and one fader can control the overall effect.
Sends are also useful when the effect needs to react differently from the source. You can compress the return to keep a wide chorus from jumping forward, filter it so the effect does not cloud the low mids or compete with the lead, or automate the return down without changing the dry performance.
The tradeoff is session management. A send, bus, return channel, and separate automation lane create more routing to keep track of, so using a send for every effect can make a simple mix harder to follow than it needs to be.
Insert or send: the quick decision rule
If the effect should define the sound, use an insert. If the effect needs its own fader, tone, or automation, use a send.
For modulation that stays on throughout the full section, use an insert because the dry and processed signals will move through the mix together.
For a vocal or instrument throw at the end of a phrase, use a send so you can automate the effect without changing the dry channel.
When every track needs different settings, use inserts so each source has its own plugin and controls.
When several tracks need to share the same effect, use a send so each source can feed the return at a different level.
If the wet signal needs its own EQ or compression, use a send because the return has a separate signal chain.
This is a starting point rather than a rule. If an insert gives you the control you need, there is no reason to add a return channel simply because sends are considered more advanced.
Pre-fader or post-fader sends
Most effect sends begin in post-fader mode, which means lowering the source fader also lowers the level feeding the effect. The dry sound and the return stay in roughly the same relationship as the track moves up and down in the mix.
A pre-fader send is independent of the source fader. You can lower the dry channel while the effect continues receiving signal, which is useful for transitions where the original sound disappears but a processed version continues underneath the next section.
Post-fader is the normal starting point for chorus, delay, and reverb sends. Move to pre-fader when you deliberately want the effect level to behave independently from the source.
Some DAWs also let a send follow the source's pan position. This can be useful when several sounds share one stereo effect and you want their placement to carry into that effect.
A clean way to build an effect send
The names and menus vary between DAWs, but the routing is the same.
1. Create a stereo aux, return, or FX channel.
2. Place the effect on that channel and set its Mix control to 100% wet.
3. Create a send from the source track to the new return.
4. Start with the send level all the way down, then raise it while listening in the full mix.
5. Use the return fader for the overall effect level.
6. Add EQ or other processing to the return only when you can hear a reason for it.
7. Automate the send for individual words, chords, or transitions instead of leaving it at one level for the entire song.
Solo the return briefly to understand what the effect is adding, then make the final balance with the full mix playing. A processed return that sounds impressive by itself can still be too loud once the dry source and the rest of the arrangement come back in.
Using Paradox modules as an insert or send
Paradox Chorus can work either way because its three voices and wet-dry Mix control cover everything from a small amount of detuning to a fully processed modulation return.
On an insert, start with one voice and bring up the Mix control until the source reaches the width you want. Add the other voices only when the sound needs more density, then use the independent rate, depth, and Tap controls to keep each voice from moving the same way.
On a send, set the plugin fully wet and automate how much signal reaches it. The return can be filtered or compressed separately, while the 0 to 100 ms Tap range lets the effect move from tight modulation into doubling and slapback without changing the dry track.
Paradox VC Rotary also changes character depending on the routing. Use it as an insert when the rotating low-frequency drum and high-frequency horn should define the sound, then treat the slow and fast movement like a performance control.
Use it on a send when you want a parallel moving layer underneath a pad, guitar swell, chord loop, or vocal texture. Set the return fully wet, blend it below the dry signal, and automate the send or return level when the movement should enter and leave the arrangement.
If you are not sure which routing works better, compare both in the session.
Try both routings
Choose one vocal, guitar, or synth from a mix you already know.
First, place the effect directly on the track and use its Mix control to create a balance that works in context. Save that setting, bypass the insert, then load the same effect on a stereo return at 100% wet and raise the send until the effect feels equally loud.
Listen for three things:
- Which version keeps the dry sound clearer?
- Which version is easier to automate through the section?
- Does the return need its own EQ or level control, or is the insert already doing everything you need?
Check both versions in stereo and mono, match their perceived level as closely as possible, then keep the routing that gives you the control you will actually use.
[Try Paradox VC Rotary Free] [Try Paradox Chorus Free] [View The Paradox Duo Bundle]
Explore Kiive Plugins
Want to apply what you learned in your own mixes? Every Kiive plugin includes a fully functional 14-day trial with no card required.
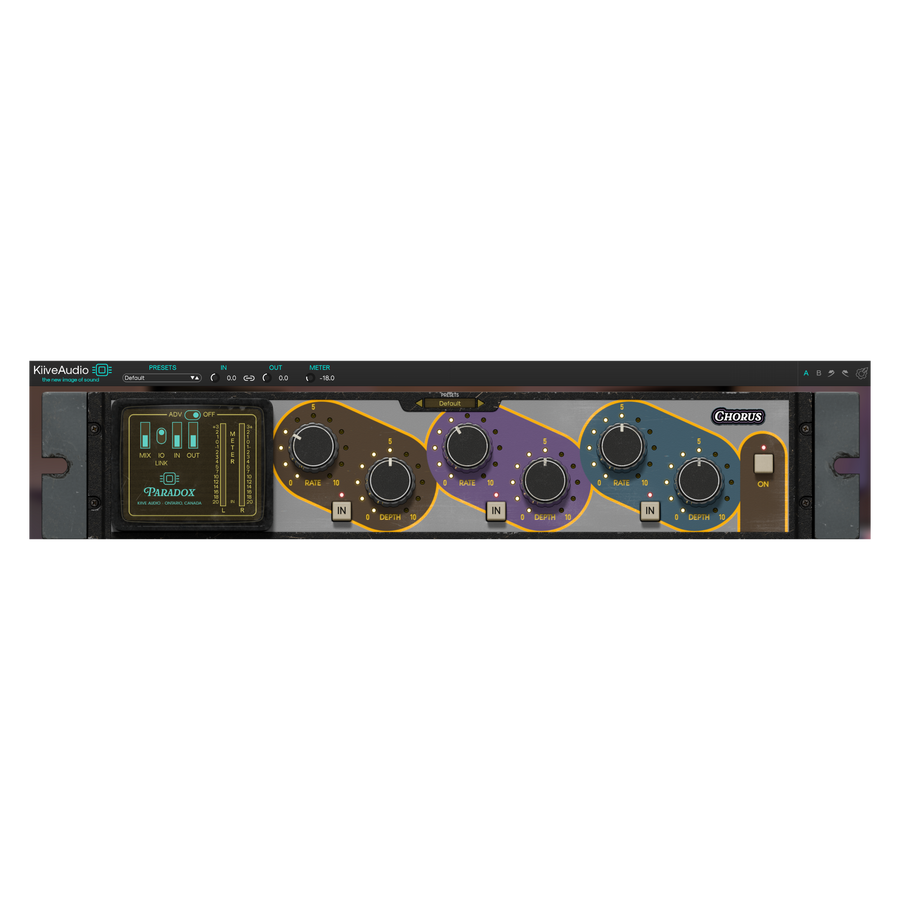
Paradox | Chorus
Run up to three choruses at once, each with its own rate, depth, and delay time, to transform your music.
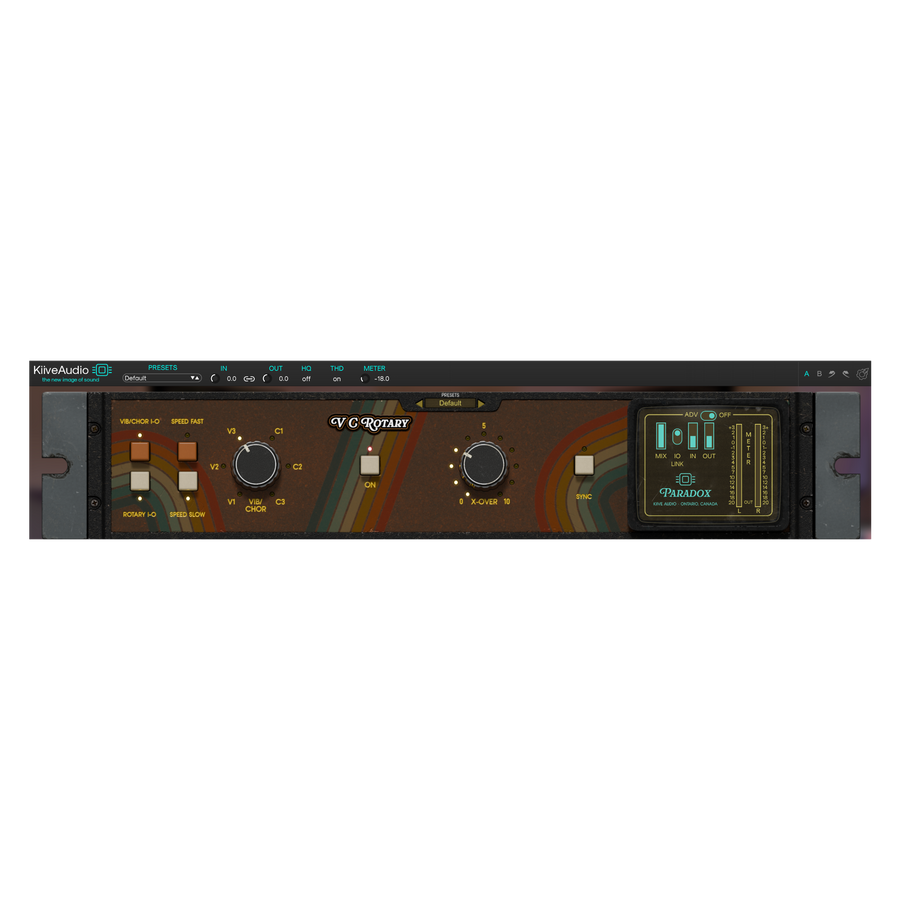
Paradox | VC Rotary
Inject motion Into your music with six different vibrato and chorus voicings to choose from