
In the world of music production, compressors are a great tool for ensuring your tracks are sounding consistently polished and professional. Whether you're a novice dipping your toes into the world of sound engineering or a seasoned pro, understanding the power of compression is essential. In this comprehensive guide, we'll explore the fundamentals of compression and how to apply it to different source materials.
What is a Compressor?
At its core, a compressor is an audio tool designed to control and shape the dynamic range of a sound. (The dynamic range is the difference between the loudest and softest parts of a track or instrument.) When this range is too wide, parts of your audio may get lost in a mix or overshadow other elements, causing an imbalanced sound profile.
Essentially what a compressor is doing is quickly adjusting the volume on your track. To put it in the simplest terms, it turns the track up when it’s quiet, and down when it’s too loud.

Why Use a Compressor?
- Consistency: By reigning in volume peaks and boosting softer parts, compressors ensure that the listener doesn't constantly adjust the volume.
- Enhance or Suppress Elements: Want your vocals to stand out? Or perhaps make your background instruments a tad subtler? A compressor can help.
- Coloration: While primarily a tool for dynamics, some compressors, especially analog or modeled plugins, add a certain character or "color" to the sound, making it richer or warmer.
- Increase Sustain: For instruments like guitars or pianos, a compressor can increase the sustain allowing for extra depth.
- Protect Speakers and Ears: By controlling sudden loud bursts, compressors ensure that the sound doesn't harm speakers or human ears. It’s common for mixers to put compressors or limiters on impacts such as sub drops to ensure they don’t blow out the mix.
The Downside of Over-Compression
While compressors are powerful, it's also possible to overdo it. Unless done for a creative purpose, over-compression can rob the music of its dynamics, making it sound lifeless or too "squashed." It can also introduce distortion or cause elements of the mix to be lost. Thus, while it's a potent tool, it's crucial to use compression judiciously, especially when you’re first starting out.
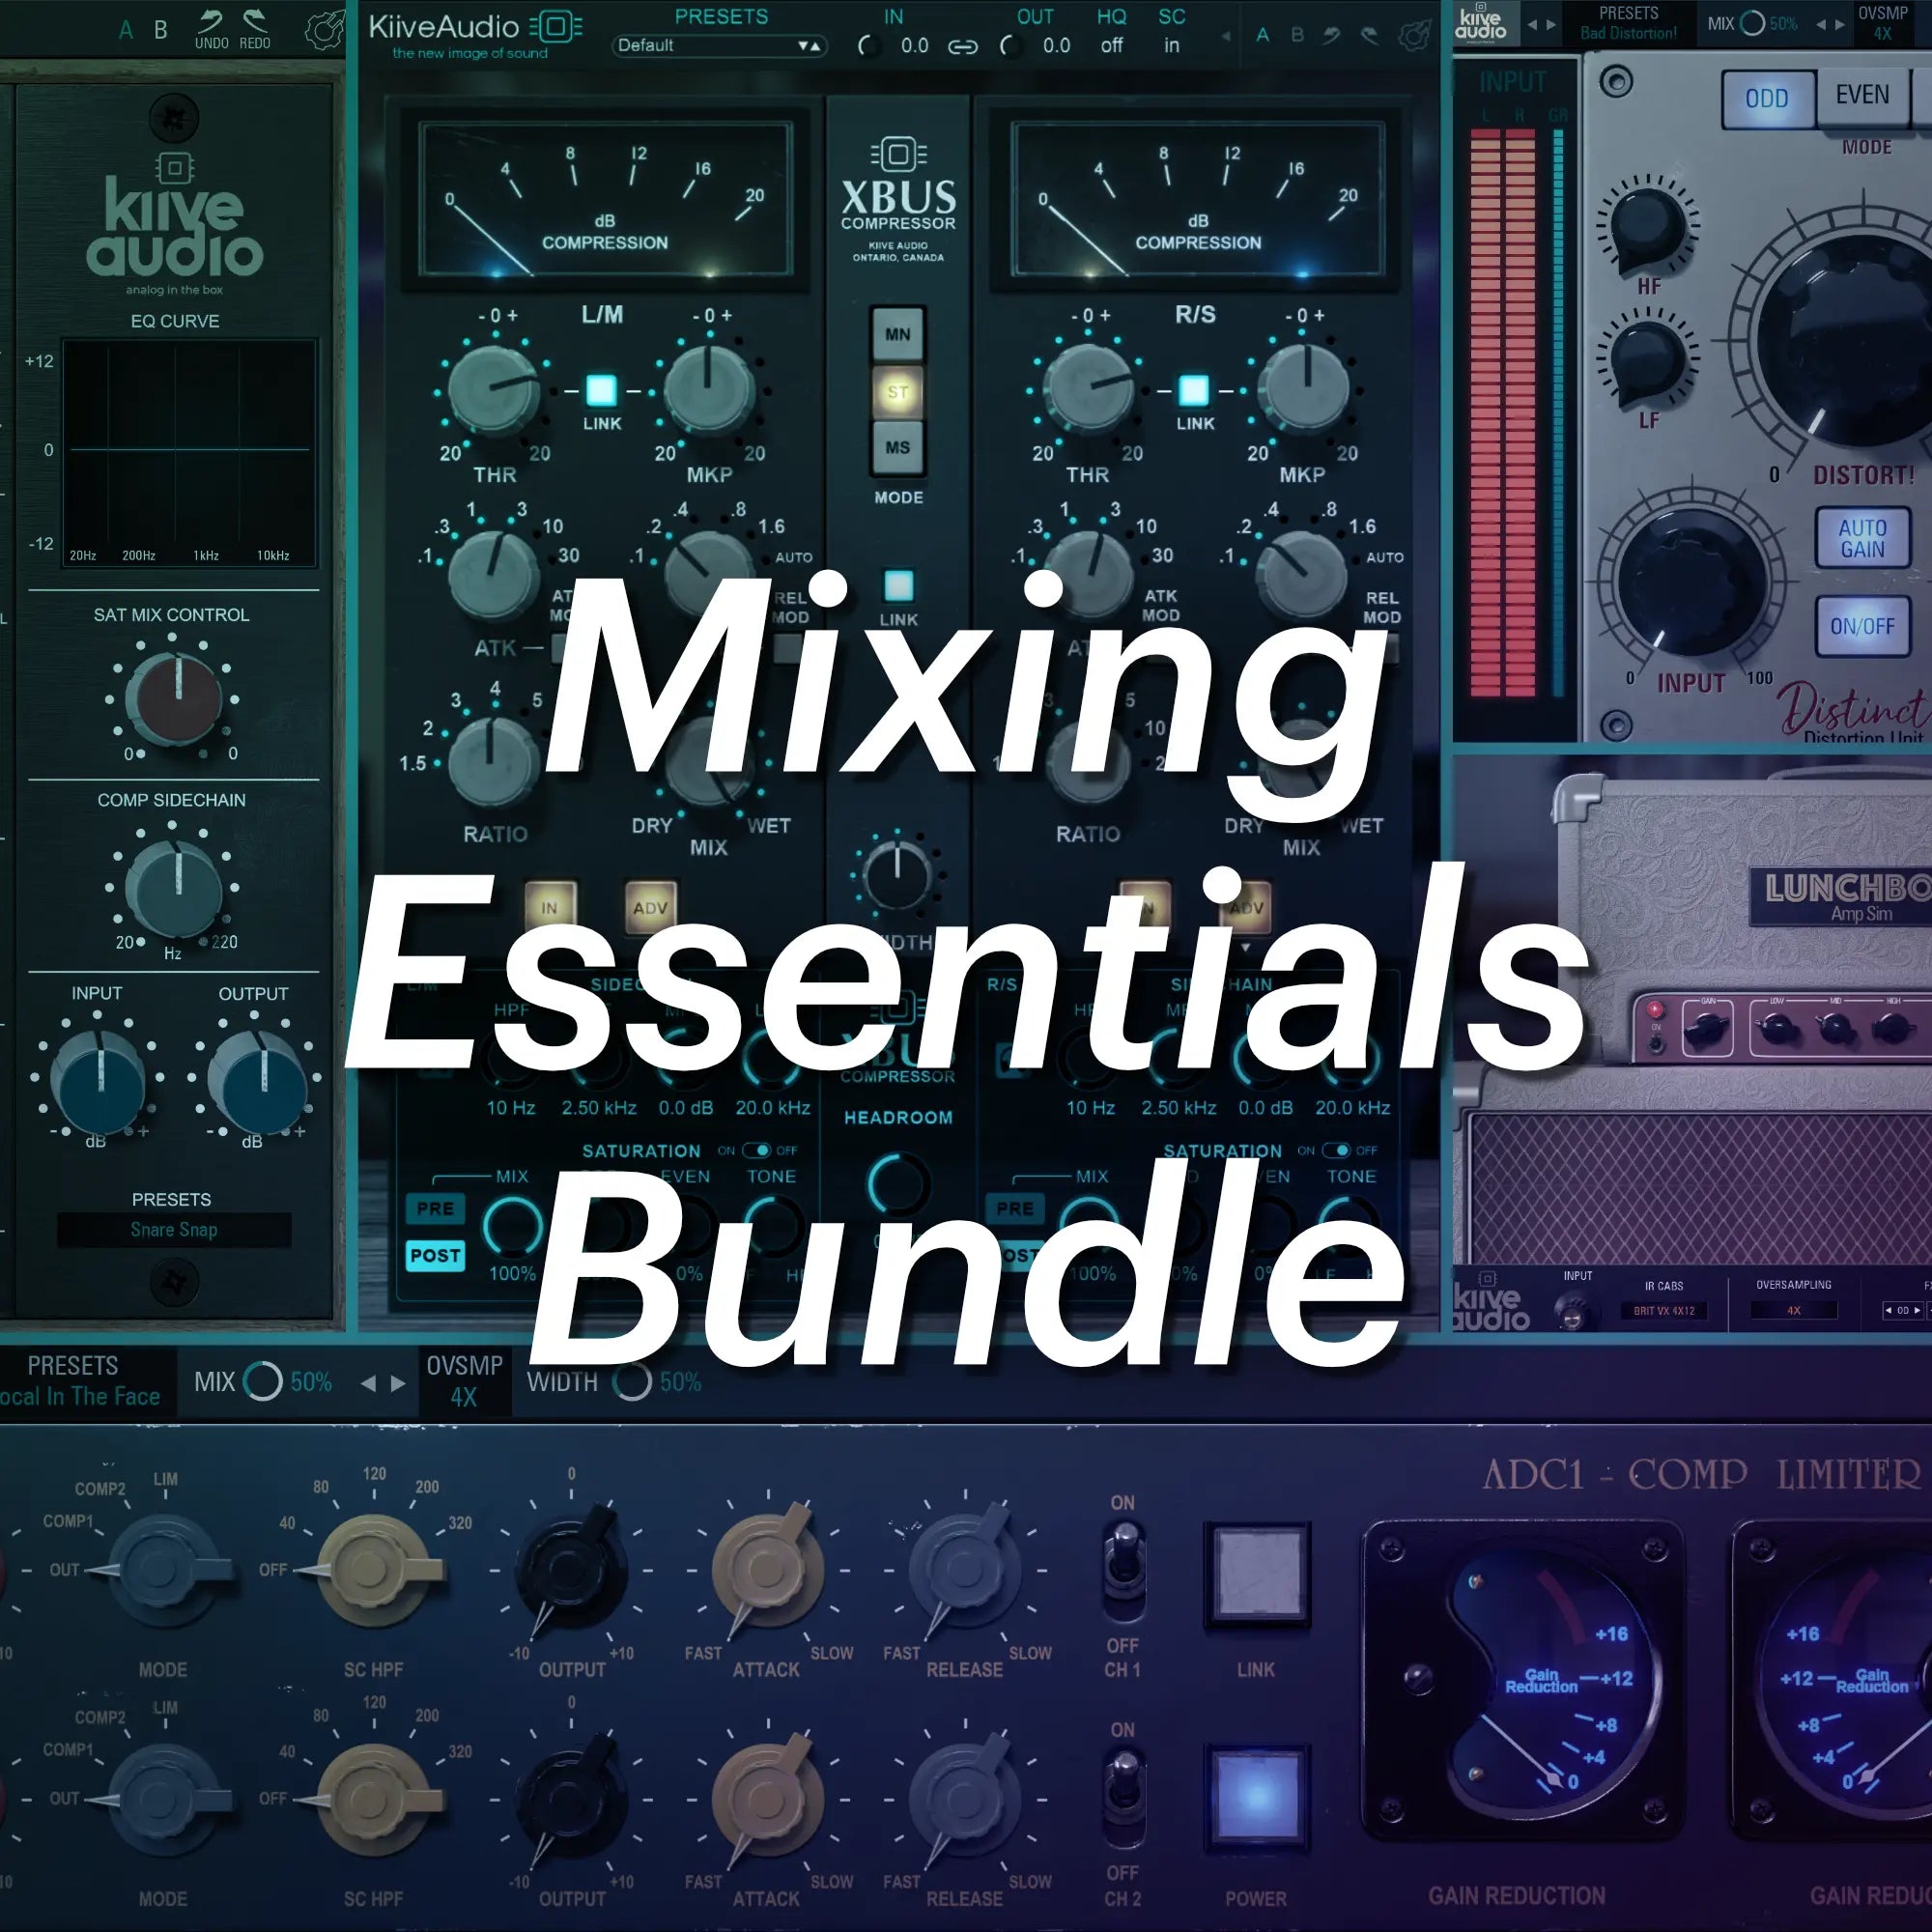
Now it’s time to go into the specific parameters of compressors and how they work. In this article, we'll use our Kiive Audio ADC1 Compressor/Limiter as our reference, allowing you to see these principles in action and how they shape the final output.
Modules in ADC1 Compressor/Limiter
The ADC1 is a powerful plugin designed after iconic compressors and limiters that has everything needed to help explain how to dial in compression. Let's delve into its parameters:
Input and Output
Pretty much every compressor will have these basic controls, forming the foundation of its operation:
- Input: Determines how much of the audio signal is fed into the compressor. By adjusting the input, you are essentially determining how much of the audio signal will exceed the compressor's threshold, thus initiating the compression process. When you increase the input gain, more of the audio signal may cross the threshold, resulting in increased compression (assuming the threshold remains constant). Conversely, reducing the input will lead to less compression, as fewer portions of the audio signal surpass the threshold.

- Output: Once the audio has been compressed, this control allows you to set the level of the audio being sent out. After dynamic peaks have been attenuated, the overall signal may sound quieter than the original or unprocessed version. The output control ensures that, after compression, the signal can be brought back to a level that sits appropriately within the mix or matches a desired loudness benchmark.

Side Chain Filter
This allows you to exclude certain frequencies from triggering the compressor, essential for:
- Avoiding bass-heavy instruments from dominating the compression.
- Retaining clarity in specific frequency ranges.
As you can see below, the ADC1 allows you to filter out different parts of the low end spectrum from 40Hz up to 320Hz.

Attack Time
The attack time in a compressor refers to the duration the compressor takes to start applying compression once the input signal surpasses the defined threshold. Essentially, it controls the onset of compression, allowing you to shape how abruptly or gradually the compressor responds.
- Quick attack times can make drums sound punchy.
- Slower attack times let some of the transient (initial hit) through, which can be essential for preserving the natural feel of instruments.

Release Time
Release time in a compressor determines the duration it takes for the compressor to stop exerting compression after the input signal falls below the threshold. In essence, it governs how the compressor "lets go'' of the signal, influencing the tail-end dynamics and the recovery period between compression events.
A fast release will quickly return the signal to its uncompressed state, which can be advantageous in rhythmic contexts where you want to avoid sustained compression affecting subsequent beats or notes.
On the other hand, a longer release smoothes out the decompression process, which can be ideal for sources with longer sustain or to ensure a more consistent level across a passage. However, excessively long release times risk making the audio sound squashed or unnaturally flattened, so careful adjustment is key.

Ratio
The compression ratio is a pivotal parameter that dictates the degree of compression applied once the input signal exceeds the defined threshold. It's represented as a ratio, where the first number indicates the amount of input signal level increase, and the second denotes the corresponding increase in output level.
For instance, a ratio of 4:1 signifies that for every 4dB of input above the threshold, the output will only increase by 1dB. Essentially, this means the exceeding portion of the signal is compressed at this rate. A lower ratio like 2:1 results in gentle compression, subtly reigning in dynamics, making it apt for sources that require nuanced processing, such as vocals or acoustic instruments.

Higher ratios, conversely, impart more assertive compression, squeezing the signal harder. Extremely high ratios, often seen in limiters, can virtually clamp down any signal surpassing the threshold, ensuring it doesn't exceed a certain level. Thus, the ratio not only influences the amount of compression but also profoundly shapes the sound's character, from delicately balanced to aggressively controlled.
Even though the ADC1 doesn't allow you to select your own ratio, understanding its implications is crucial. In the ADC1, switching to the limiter option implies a higher ratio, ensuring that the output doesn't exceed a certain level, which is great for preventing digital clipping and distortion.

Practical Applications of the Compressor
Understanding the mechanics of a compressor is only half the equation. The real craft emerges when you apply this knowledge to various instruments and stages of production.
How to Compress Vocals
Vocals often sit at the forefront of a mix, and thus, getting their compression right is paramount. These settings certainly vary from source to source but here is a basic guideline to apply compression to vocals:
- Moderate Attack: You don't want too much of the transient to come through but also don’t want to cut it immediately.
- Moderate to Slow Release: A setting that allows natural breaths and pauses to shine through without abrupt volume drops.
- Ratio: A lower ratio (like 2:1 or 3:1) ensures vocals remain dynamic, but still controlled.

(The “Vocal Colour Comp” preset settings from the ADC1.)
If you are a beginner, one tip we recommend is to flip through the presets within your plugins and study what each one is doing. Sometimes seeing examples of what professionals use can be a great way to learn how to use compression, or any other audio technique.
Example: The ADC1 has presets for different vocal performances such as a main vocal or backing vocals.
While you don't want to become reliant on just using presets, they can be a helpful tool for learning.
Using Compressor on Mix Bus
The mix bus, or the "master channel", is where all your tracks combine. Using a compressor here can glue tracks together. Here are some solid starting points for dialing in mix bus compression:
- Slow to Moderate Attack: Allows individual track dynamics to breathe.
- Auto or Slow to Moderate Release: The goal here is to match the tempo and feel of your track.
- Lower Ratio: This ensures the overall mix isn't heavily compressed, retaining dynamic range.
- Apply Side Chain Filter: Engaging the side chain filter will help make sure that tracks with lots of low end do not build up and cause unwanted compression in the sub frequencies.

(The “Tight Mix Bus” preset settings from the ADC1.)
Mastering with a Compressor
Mastering is the final polish on your track, and compression plays a pivotal role:
- Gentle Settings: It's about refinement, so subtle compression settings often work best.
- Consistency: Ensure there aren't wild volume fluctuations between song sections.
- Maintain Dynamic Range: While you want a consistent volume, don't squash the life out of your track.

(The “Mastering - Add Color” preset settings from the ADC1.)
Remember, mixing and mastering should be an art. Listen, tweak, and listen again. These settings are not meant to be a final say on how to use compression because there are many ways you can use these tools to get unique sounds out of your tracks.
Conclusion
Compression is more than just a technical process; it's an art form. When wielded effectively, it has the power to elevate your music, making it sound richer, clearer, and more professional. Through tools like Kiive Audio’s ADC1 Compressor/Limiter, producers, musicians, and songwriters can harness this power, ensuring their sound resonates with listeners. Understanding the intricacies of a compressor is essential, whether you're aiming to make your drums sound punchy, your vocals stand out, or to achieve that perfectly balanced mix. It's about listening, understanding, and applying – a journey of continuous learning and experimentation.
Thank you for joining us on this deep dive into compression. We invite you to explore our other educational content and try out our plugins! If this guide was helpful, please consider sharing it with your peers. We'd love to hear your feedback and any insights you might have!


Leave a comment
All comments are moderated before being published.
This site is protected by hCaptcha and the hCaptcha Privacy Policy and Terms of Service apply.